The spider valve is too flaky. Sometimes it would switch over to the next channel, sometimes it wouldn't. When you're talking about the difference between routing to a grow bed or just returning back to the fish tank, you're talking about the difference between life and death for both fish and plants. I couldn't depend on it, so I took it out. I will say, though, that the manual says that the spider valve should be the highest point in the connection, i.e. that all the water coming out should flow back down. In order to use the least amount of pipe, I didn't follow that suggestion. So, it could be that the spider valve works great, but because I didn't set it up properly, it didn't work. I can't rule it out, but with this experience, I'm not likely to try it again. Besides, it takes a pretty good flow just to get the damn thing to seal itself and work right. It's not worth the extra $$ expense on electricity, since you get an aerator that pulls only 5W.
Anyway, instead of the spider valve, I used my smaller pump (630 GPH - probably still oversized) and connected it straight to the two gr
owbeds. I bought a Coralife Luft Aquarium air pump and an airstone. I then used a housing that I had for my old digital timer/relay from a couple of years ago to make the air pump weather proof. I had to drill a couple of holes - one to allow air to come in from the bottom into the housing, and one for the power cord to go out of. I used a little piece of old liner and some screen material to ensure that no critters could get in, and I used some pieces of foam to fill in the gaps around the airpump inside the housing to reduce vibration.
Housing for Coralife Luft pump
In full operation, you can see the return line draining in and the bubbles on the bottom of the photo from the air stone.
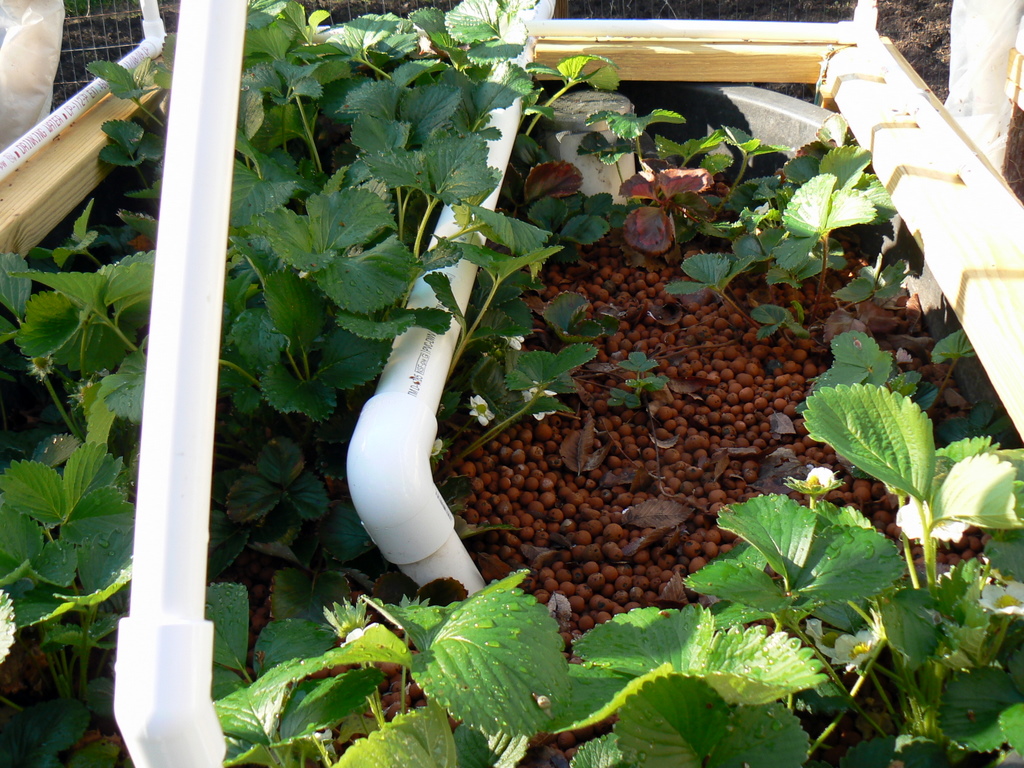
Both growbeds during a flooding stage. I carved little channels around the outside of the grow beds for the water to move through. Just like at the beach!
The whole system - fish tank on the ground, grow beds up on the deck, with drain pan underneath.
The drain pan is way oversized. I had that 3X3 Botanicare tray, and it seemed a waste just sitting there. It fit nicely width-wise under the 2 grow beds, but it doesn't need to be as large to do the job that it's doing. In fact, it's size means that more water is stored temporarily in the drain pan instead of providing the fish with more gallons to swim in.
All I need to do is to build a box wide enough and deep enough to serve the same function, but I don't want to spend any more money on it right now!
We're supposed to see temps near freezing tonight and early next week. As soon as that passes, I'll start planting.