Thursday, March 24, 2011

Spring Veggies Coming Along Nicely!

In my established system, things are looking really good. I've already harvested a ton of arugula that we've used in salads and also made a nice pesto out of. There's more arugula on the way, too. Spinach is looking nice and ready for harvest. More salad for me and spinach quesadillas for my son. Some of the cilantro grew up nicely, and that ended up in some of my famous salsa (thank you Giemzales!) The strawberries are looking fantastic, and there are plenty of flowers blooming.

The broccoli seeds have germinated well, as have the broccolini, so things are looking up. With one batch of arugula out of the way, I have some space for tomatoes. I've already purchased 4 seedlings, but the weather's not cooperating. It's been over 80 the past two days, but it's supposed to drop to near 32 tonight and not get above 60 for the next 5 days. So, I'll wait a week to stick them in the grow bed.

Some of the worms that I put in there last year survived the winter. I'm not sure how they managed that, since the grow beds were flooding continuously. Hardy little suckers!

Spinach on the right, broccoli on the left (need to thin it)

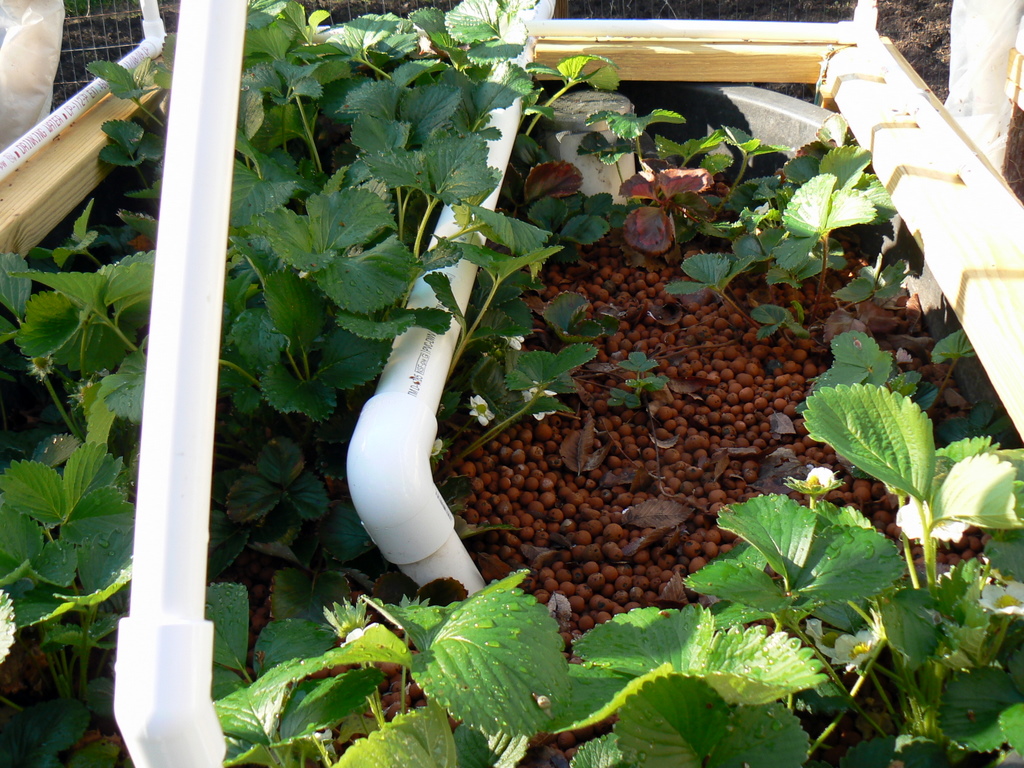
Strawberries

Cilantro/broccolini on the left, spinach in the middle, arugula on the right

Pond plants seem to be taking off even earlier this year than normal.

Sand System Refined

The spider valve is too flaky. Sometimes it would switch over to the next channel, sometimes it wouldn't. When you're talking about the difference between routing to a grow bed or just returning back to the fish tank, you're talking about the difference between life and death for both fish and plants. I couldn't depend on it, so I took it out. I will say, though, that the manual says that the spider valve should be the highest point in the connection, i.e. that all the water coming out should flow back down. In order to use the least amount of pipe, I didn't follow that suggestion. So, it could be that the spider valve works great, but because I didn't set it up properly, it didn't work. I can't rule it out, but with this experience, I'm not likely to try it again. Besides, it takes a pretty good flow just to get the damn thing to seal itself and work right. It's not worth the extra $$ expense on electricity, since you get an aerator that pulls only 5W.

Anyway, instead of the spider valve, I used my smaller pump (630 GPH - probably still oversized) and connected it straight to the two growbeds. I bought a Coralife Luft Aquarium air pump and an airstone. I then used a housing that I had for my old digital timer/relay from a couple of years ago to make the air pump weather proof. I had to drill a couple of holes - one to allow air to come in from the bottom into the housing, and one for the power cord to go out of. I used a little piece of old liner and some screen material to ensure that no critters could get in, and I used some pieces of foam to fill in the gaps around the airpump inside the housing to reduce vibration.

Housing for Coralife Luft pump

In full operation, you can see the return line draining in and the bubbles on the bottom of the photo from the air stone.

Both growbeds during a flooding stage. I carved little channels around the outside of the grow beds for the water to move through. Just like at the beach!

The whole system - fish tank on the ground, grow beds up on the deck, with drain pan underneath.

The drain pan is way oversized. I had that 3X3 Botanicare tray, and it seemed a waste just sitting there. It fit nicely width-wise under the 2 grow beds, but it doesn't need to be as large to do the job that it's doing. In fact, it's size means that more water is stored temporarily in the drain pan instead of providing the fish with more gallons to swim in.

All I need to do is to build a box wide enough and deep enough to serve the same function, but I don't want to spend any more money on it right now!

We're supposed to see temps near freezing tonight and early next week. As soon as that passes, I'll start planting.

Tuesday, February 22, 2011

Night fish pics

Getting ready to go on my annual snorkeling adventure to the Virgin Islands, and I was playing around with the underwater camera and lights last night in my pond. It was pretty cold, and I put on my waders and just sort of lowered the camera into the water, so the photos aren't all that great, 'cause I couldn't really aim through the viewfinder, but some of them turned out OK. The water appears to be a little murky. That's partially from me stomping around in my waders, but it's also been very warm the past couple of days, and the algae has been very active. Once the water plants are able to kick into overdrive, they take up any excess nutrients, and the algae settles down to a level that the fish can manage.

I was hoping to get some pics of catfish, but they are still very small and very skittish. I'll try again during the day.


Friday, February 18, 2011

Update on Pond System

Well, after that one sticky week where everything had frozen into a solid block of ice, everything has been working perfectly. I did not detect any new leaks or pipe cracks or any other negative consequences of the super cold. My plants actually survived for the most part, which is amazing, and a testament to the resilience and vigor of plant life itself. I did lose some arugula, but the plants that survived are doing quite well.

I've added more seeds, and I'm hoping the warm conditions will last long enough to let them germinate and form a root to tap into the lower levels of the grow beds where the water is.


Looking forward to April, when things will get going in full force!

Sand System Completed and Cycling

Well, the weather's warmed up enough to feel comfortable turning on the sand system to cycle it. If it does decide to get cold again, I'll shut it down. There are no plants or fish in it right now, so turning it off won't hurt anything.


A couple of notes about the spider valve. First, it requires a good deal of pump pressure to work. I had to use a more powerful pump to get it to function properly, or at least to get it to switch properly. Second, while it does divert the flow, I'm finding that there is flow coming out of at least parallel channels if not all channels. This may be due to the fact that the spider valve is located below my grow beds, so there's a little bit of head to climb before the water comes out, but I'm not sure.

In my system, where I want the flow to move slowly through the sand, it's probably not an ideal way of doing things. In hindsight, it probably would be best to have a slow pump going to both grow beds and an aerator running constantly versus using a spider valve to switch between the growbeds and using the two un-used feeds (there are 4 channels on the spider valve, and I have 2 grow beds) to cycle the water around in the tank for aeration.

We'll see. I'm also curious to see if the sand system is more efficient at removing the nutrients. It had better be, because I'm probably only running the entire volume of the fish tank through twice a day - again, due to the slow inflow.

Tuesday, February 1, 2011

100 gallon Sand System

So, many of you may not be aware, but the very first aquaponic systems (though they weren't called that) were actually sand-based. Dr. Mark McMurtry did his PhD work on integrating aquaculture and hydroponic growing methods, and after years of research and experimentation, he settled on using sand. The amount of surface area for the bacteria to attach to is orders of magnitude greater than any other growing medium.

So, inspired by that, I've been putting together a small, sand-based system.

I started with the fish tank I made last year (still need to reinstall the liner, which hopefully doesn't have any holes in it (see my notes on this later!)) positioned on the ground under the shade of a magnolia tree. I'll use one of those 4 way spider valves and run one to each grow bed, and two right back into the fish tank at the bottom, to try and flush up any solids. I also plan on having a small aerator in the tank running continuously to keep the fish happy.


I set up a couple of similar, though approximately 1/2 sized boxes up on the wooden deck above as grow beds. I set them up on cinder blocks, so that I could put the 3'X3' Botanicare tray that I bought last year and haven't really had any use for. The tray's purpose is to catch the water coming out of grow beds and any potential sand that might slip through the crack. My thinking was that having a separate water catcher might help to keep the sand out of the fish tank. The grow beds are lined with liners. They are actually two different kinds. One is an EPDM liner that was left over from my pond installation, but is a few years old. The other was one that I bought from Lowe's, and is a kind of mesh-looking thing - something like a glorified tarp that is supposedly fish safe. The orange straps are part of cinch down strap for the top to keep the liner in place as well as help to keep the box's shape and integrity. I ran out of wood, and figured while I was putting this together, the straps would work just fine. The drain pipe right now just goes into the yard while I'm washing the sand. By the way, I put in 4 4X4 with footers under the beams supporting the grow beds to try and keep the deck from falling under the weight.

Here's a look at the grow bed. The pipe at top delivers the water in what I hope will be a somewhat reduced flow rate. I expect that channels will form, and in fact, Dr. McMurtry mentioned that this would happen. The grow beds are tilted slightly to aid in the water flowing to the drain.

A closeup of the inflow system. It's got 1" pipe inside a 3" pipe, both with end caps. The 1" pipe has small holes drilled into the top of the pipe, while the 3" pipe has some slots cut into it on the bottom.

Here you can see the slots.

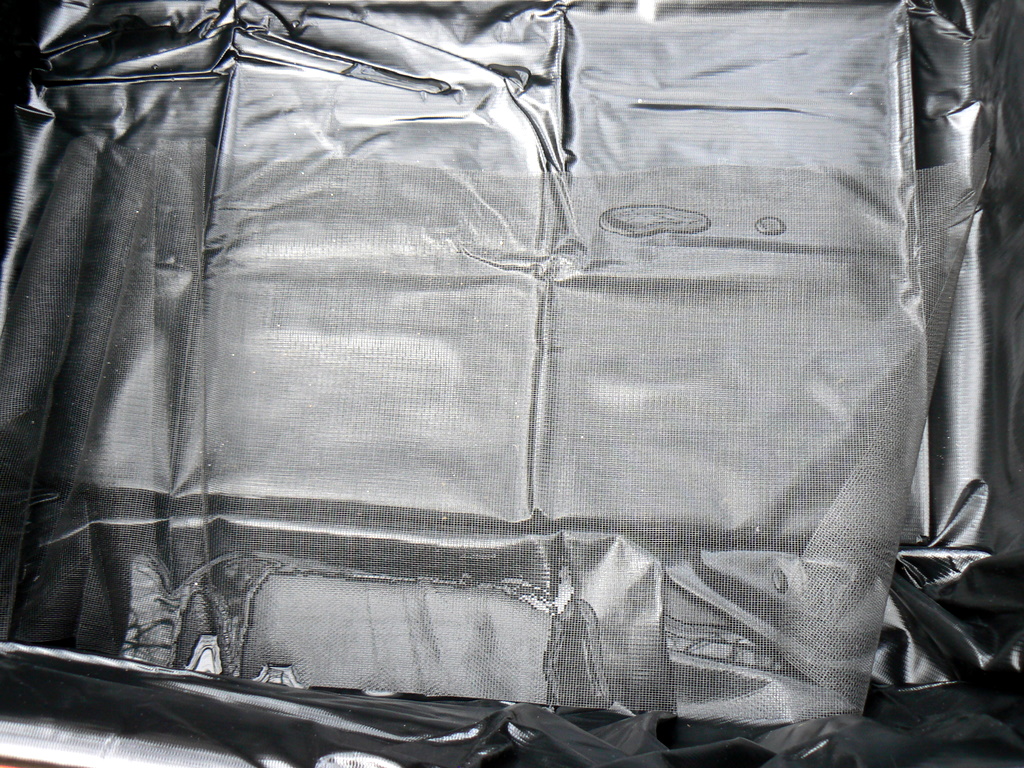
A view from under the grow beds. I cut a long slit the width of the grow bed to let the water drain out and stuffed the liner through the slit. It's hard to see in the photo above, but maybe if you look at the larger version. Anyway, the extra liner serves as a kind of a water bladder, and then I just cut a hole in it to let the water out. This was the best I could come up with, as I was worried about water choosing it's own path to go if I just cut a slit in the liner without stuffing it through the crack.

Above the crack, I put some fiberglass window screen material to try and keep the sand in. Dr. McMurtry used something similar, and he said that even cloth or clothing would work. That said, in my initial test, I did see some sand wash out. I expect some sand to come out, and I'm hoping it's a function of how fast the water is flowing in. The nice thing about the water catchment is that I can just scoop up the sand and put it back into the grow bed. But, if it starts coming out profusely, I'll be in trouble!

This is what I put into the grow bed. First, two bags of pea gravel, then 3 bags of multi-purpose sand, and then 3 bags of fine grain play sand. Hopefully there aren't any weirdo toxins or anything like that in the sand.

So, here's the rub. After first testing both grow beds for leakage by merely filling it about 1/4 full of water (before I cut open the slit) and finding none, I filled one grow bed with all the gravel and sand and tested again. Uh oh! This time, a leak developed that was pushing water out the bottom of the grow bed. My theory is that there is a small leak in the liner somewhere up along the lowest wall, and that I didn't see it initially, because I didn't fill it with enough water. This is the EPDM liner that is several years old. I kept it folded carefully and away from any sharp objects and the like, so I'm really surprised that it leaks. I sure hope my pond doesn't have a leak somewhere, too!

In addition, in the other grow bed, I found a leak in the bladder on the opposite side from where I was planning to cut the slit to drain the water. This is especially troubling, since I just bought the liner 2 days ago. So, right out of the bag, the liner has a hole in it. This is the mesh-like liner from Lowe's. As a result, I would strongly recommend AGAINST anyone ever buying this product. 

So, I'm at a crossroads. Do I continue, knowing full well that I have a leak in one grow bed that's already done with all the sand AND a leak in the other grow bed with a crappy liner? The only way this isn't a show stopper is because of my drain pan. Right now, everything drips into it, even the leaks. But it means that the boxes won't last long (hopefully at least a season).

Or, do I quit now and cut my losses? Perhaps looking into pre-made plastic tubs that would suit my purpose, cost more, but be less likely to leak? Or just do what everyone else does and use hydroton?!

What would you do?

UPDATE 2/7/11: Predictably, I decided to press on! I guess I'm stubborn (stupid) like that. Anyway, I fixed the small leak in the mesh liner box with some fish-safe silicone. The other bed I'm hoping won't leak once I slow the flow down to a reasonable level. I was testing with a garden hose on full blast, and the flow won't be nearly that high.

I'm almost done with the set-up. I need a few more feet of PVC before it's all said and done, and I hope to get to the store this afternoon to finish it up this evening.

Wednesday, December 8, 2010

FROZEN

OK, so flood and drain is all right during the spring, summer, and fall, when it's not ridiculously cold, but when it doesn't get out of the mid-30's for days on end, and it gets below 20 every night for a week, flood and drain with an outdoor pond is not smart!

Checked on things this morning, and it appears that my aerator, though powerful enough for my pond, is not powerful enough to keep the whole damn thing from freezing over! I had 1-2" thick ice covering the entire pond, so my pond pump wasn't getting enough water to send through the system, which then caused my return line to freeze, too.

I'm just hoping that the return line doesn't crack or burst when it thaws out.

Assuming it doesn't, I'm gonna switch the pump to run 24/7, which worked last year to keep the pond ice-free for the duration of the winter, which was also quite cold. Continuous flow for the cold season.

I wondered if this was going to happen, and I now I know.

I've got the pump off today, which means that the plants won't get any water. I'm just hoping the plants survive the day while I'm at work. I'm hoping to put some water into the pond today, which should warm it up a bit, and get that pump going full steam.

BTW - putting your hands into icy pond water repeatedly to try and get the pump to go sucks when it's 18 degrees out.

UPDATE -

2-3 days have now passed since this post, and despite day time temperatures climbing above freezing all three days, the grow beds are quite literally frozen solid. I've removed the greenhouses from above them, hoping that the rain we're getting now will be able to penetrate into the hydroton and help to thaw it out. Tomorrow, it's supposed to rain and reach the upper 40's. With any luck, everything will thaw out and the return lines will drain. If that happens, I'll be able to turn everything back on. Even if that does happen, I wonder if the plants are still alive, as their roots are quick literally frozen into a block of ice right now. Should be interesting!

UPDATE 12/12 -

Got 2 out of the 3 growbeds going again. The 3rd is still frozen in the return line. The arugula there doesn't look it will make it. Many of the leaves look translucent, as if all the chlorophyll has abandoned the plant. Nevertheless, I'd still like to get the flow going again, though it's supposed to be even colder tomorrow night than it was last week. Based on last year, though, as long as the water was flowing, it never completely froze over or through, and everything was still working. We'll see...